DIY Arched Doorway
- Candice Emerson

- May 15, 2025
- 2 min read
I recently did a makeover in my laundry closet that's at the end of our galley kitchen, and the final missing piece was a DIY arched doorway. It was super easy to build & install, and honestly none of the doorways in my home are safe at this point because I'm so in love with how it turned out!
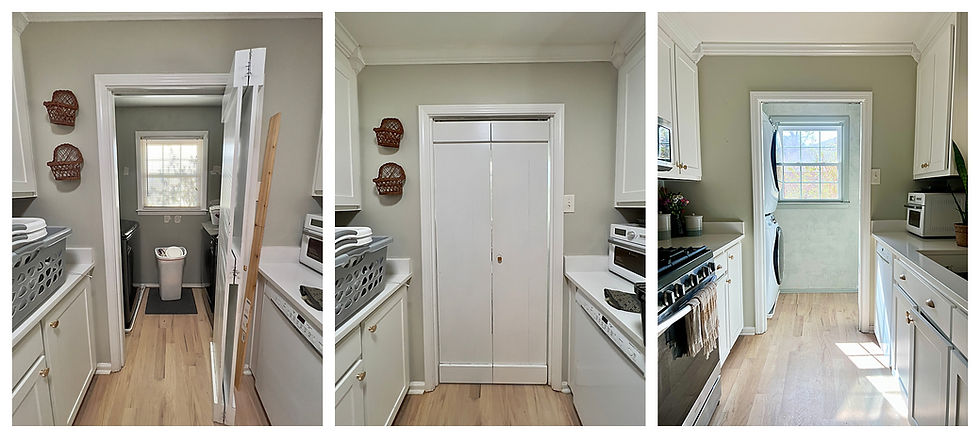
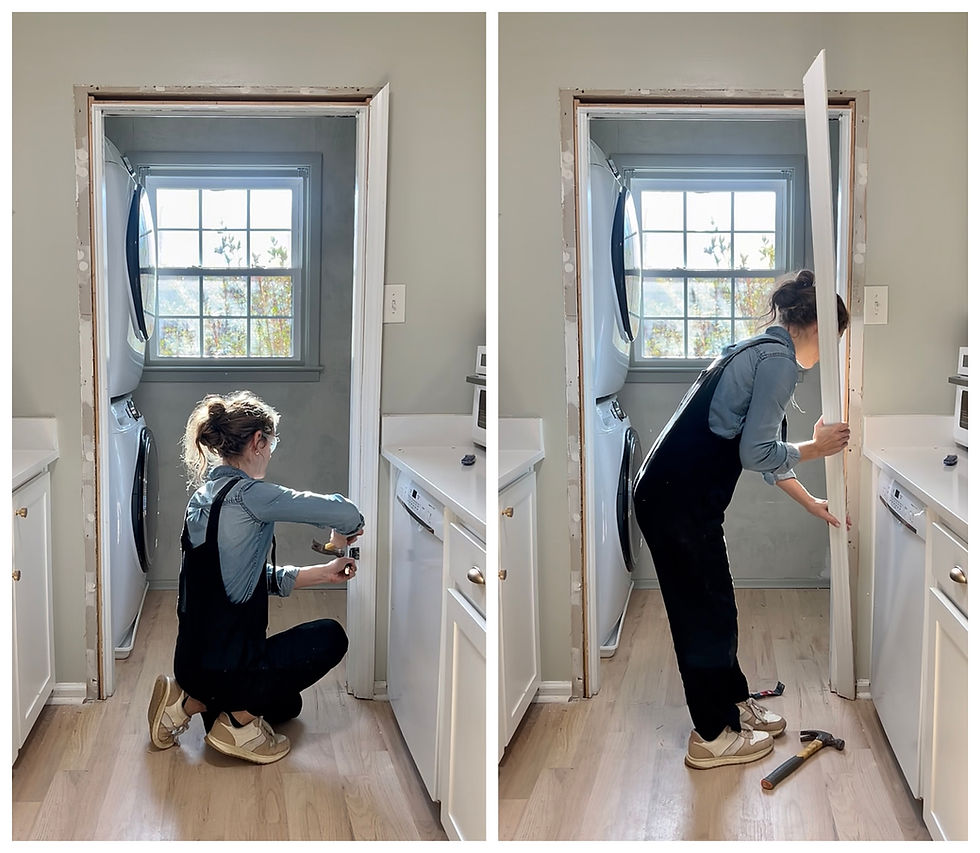
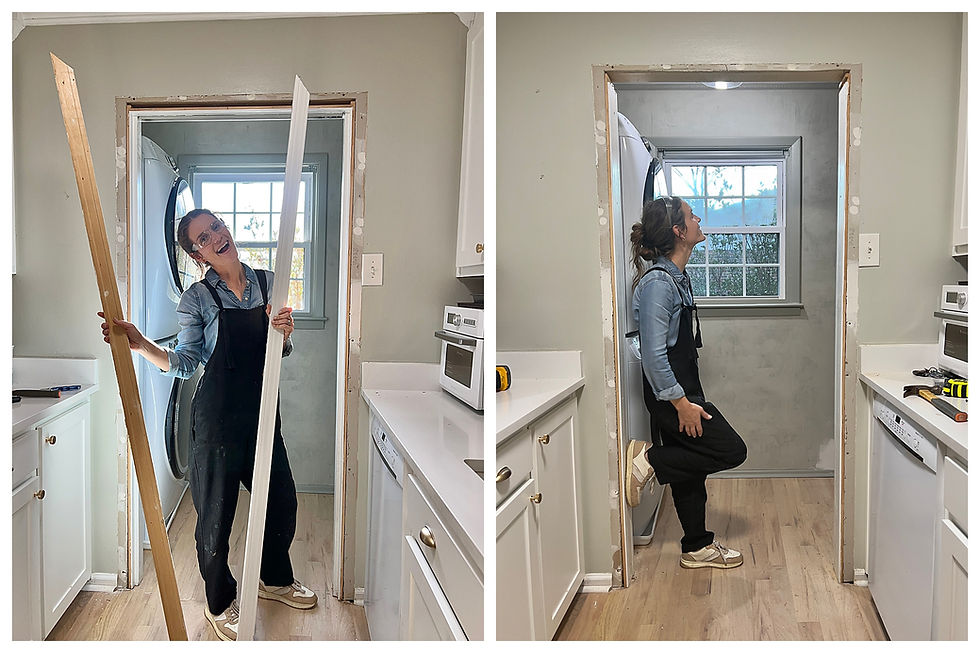
I started by removing the door casing using a hammer and pry bar. It came off super easily after knocking the pry bar down each side using the hammer, and was oddly satisfying pulling them off in one piece!
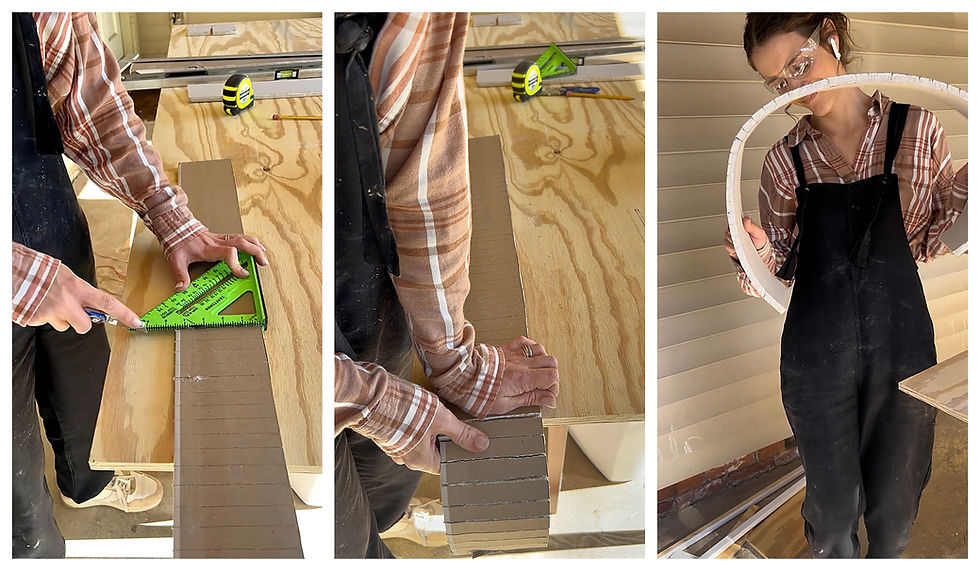
Next was building the frame for my arch. I started by tracing a half circle on this 1/4" plywood using a piece of string and a pencil. I measured my case opening and divided it by 2 to get the correct size. But I needed my plywood to be a bit thicker so I ended up using 3/4" plywood, and used this as a template to trace the new pieces.

After using a jigsaw to cut the corners, it was time to build the arch. There are a few different methods out there, but I decided to go this route because it seemed the least time consuming. I cut four blocks of 2x4 to the size I needed and nailed them into the corners of the frame.

This part was super fun! To make the drywall flexible and fit onto the arch, all you have to do is cut slits across the whole piece, then snap them using your hand.
I screwed the 2x4 blocks into the doorway, which meant I had to screw my drywall on the very edges, which is why I needed the plywood to be thicker than I originally started with.

Next I screwed drywall on each side of the doorway to make it all even.

We used mesh drywall tape to cover all the cracks and then applied a few coats of drywall mud, sanding in between each coat.

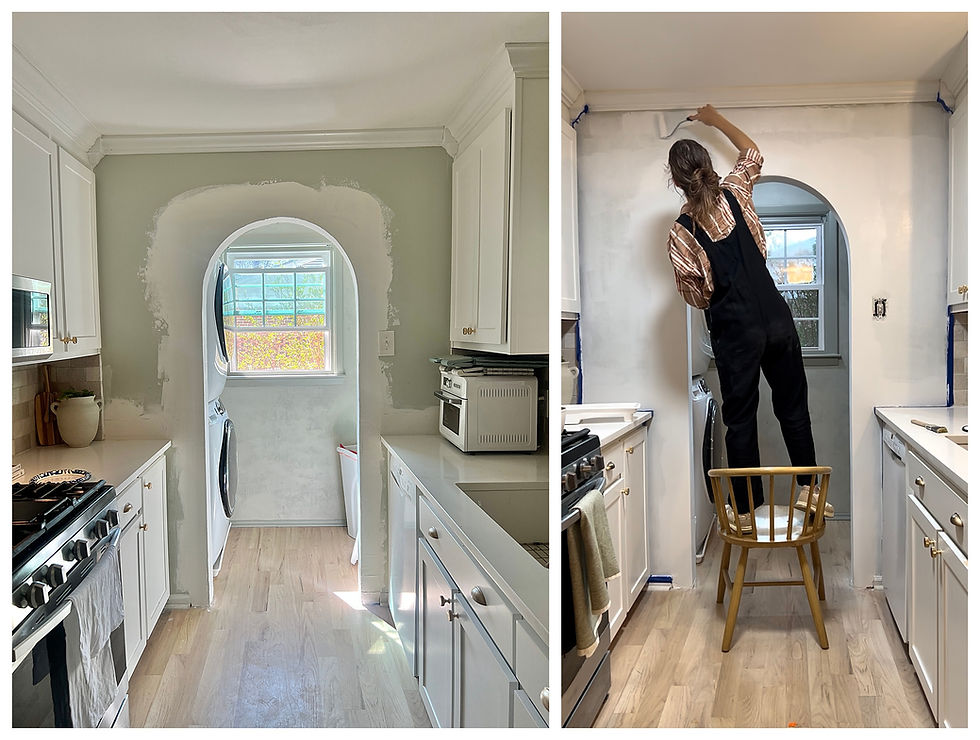
After I primed the wall, I applied roman clay by Portola Paints. I sanded after the first coat, applied one more, then sanded again.

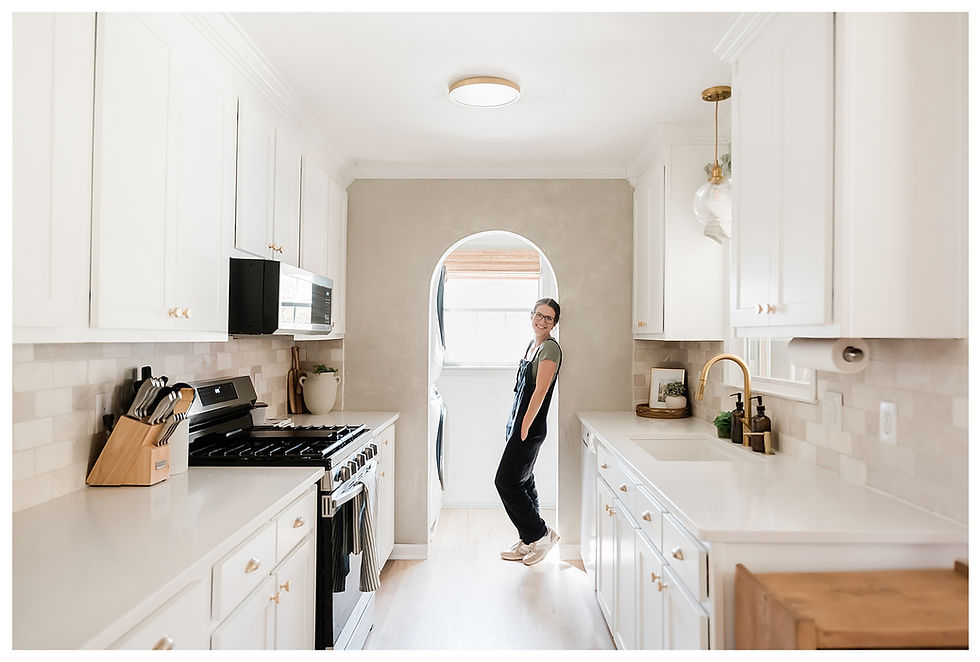
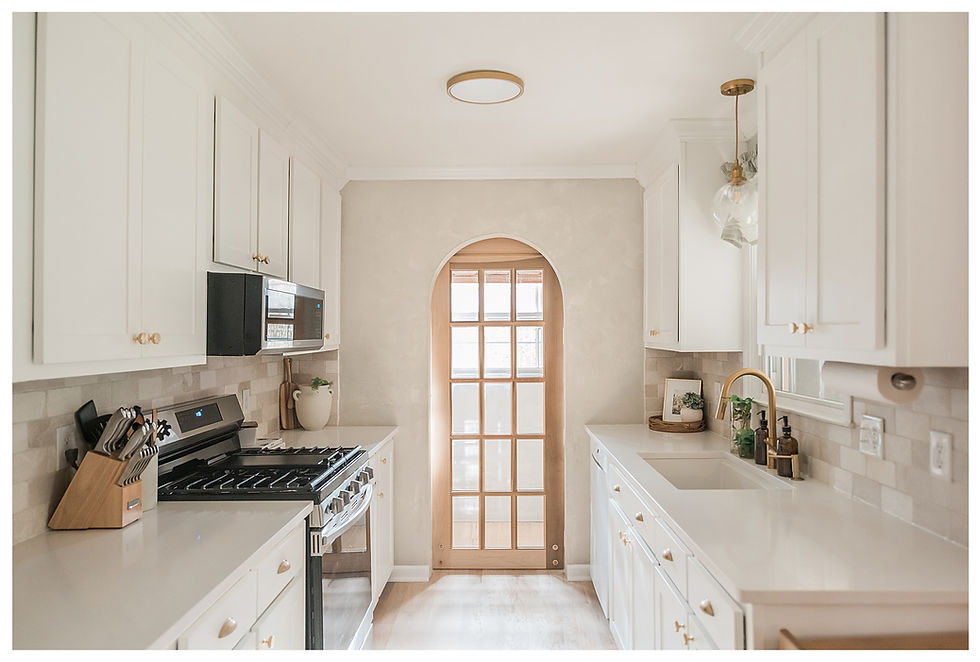
Next we installed the door (which I found at Habitat for Humanity for $65)!! I wanted the look of a pocket door, but essentially we hung it like a barn door, and you really can't tell the difference!

I am so pleased with how everything turned out! It's exactly what I was envisioning for this space. We installed travertine backsplash in the middle of this doorway project, and it really makes the whole space look brand new!

Follow along for more DIY home projects!
Links:

Comments