DIY Faux Concrete Pendant Light
- Candice Emerson

- Jul 25, 2025
- 2 min read

I love the look of concrete pendant lights but they are so expensive, so I decided to try and make my own using paper mache! This DIY faux concrete pendant light turned out SO much better than I could have imagined, and it was fairly easy to create.

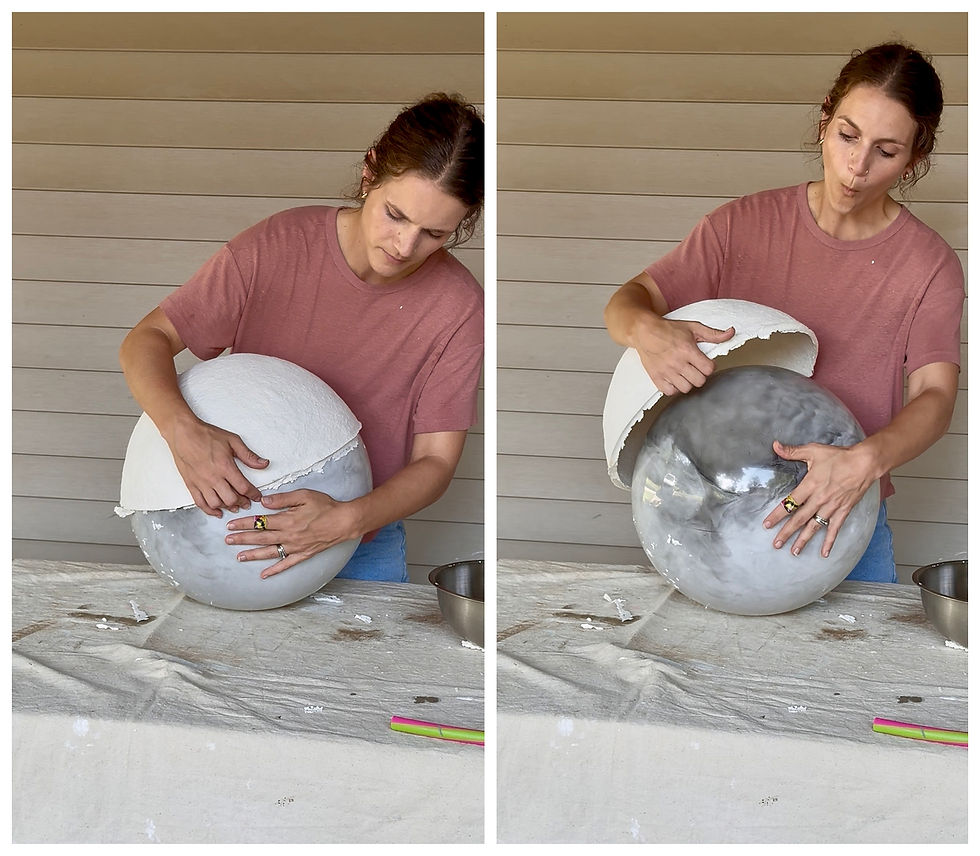
I let the mold dry inside for about a week, and I also set up set up a dehumidifier next to it because I was nervous about mold growing on it, and I think that helped the drying process. Once it was completely dry, I removed the hula-hoop and pulled the mold off of the ball (which was super satisfying btw). After that, I took a hand sander and sanded the rough edges until they were flat and smooth.
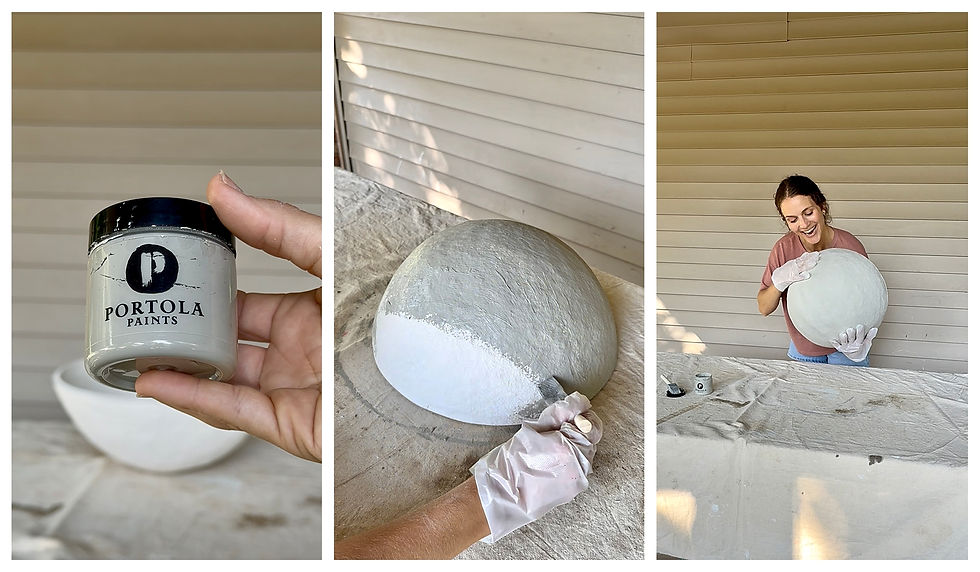
Next I took roman clay by Portola Paints in the color Thumper (are we surprised?) and covered the inside and outside of the dome.
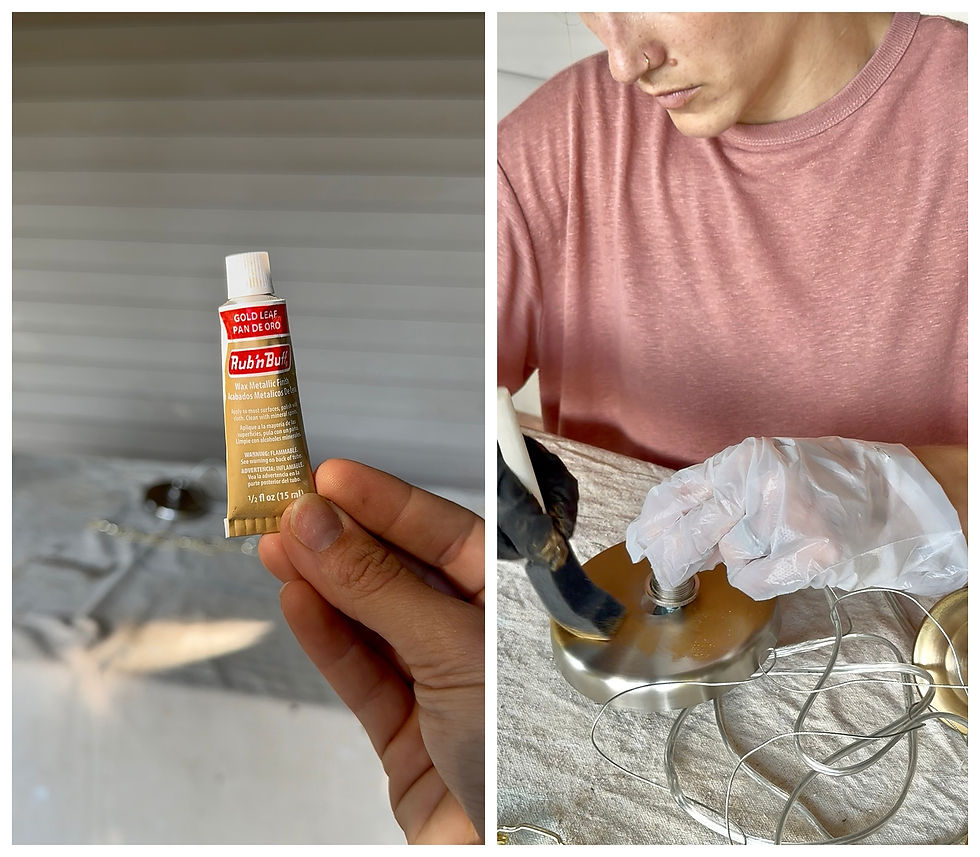
I wanted a gold chain & hardware but I didn't like any of the colors I was seeing online, so I ended up ordering a chrome one and used rub n buff in the color gold leaf to get it the exact color I wanted.
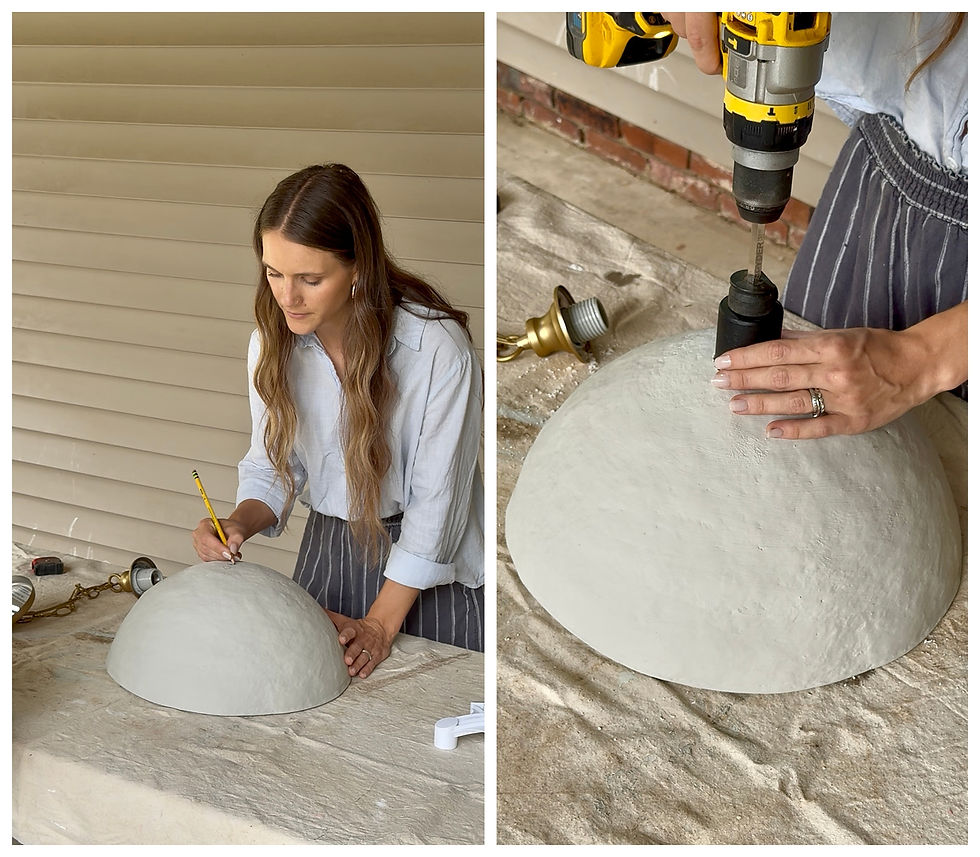
Once the clay was dry, I measured the top of the dome to drill my hole using a spyder bit.

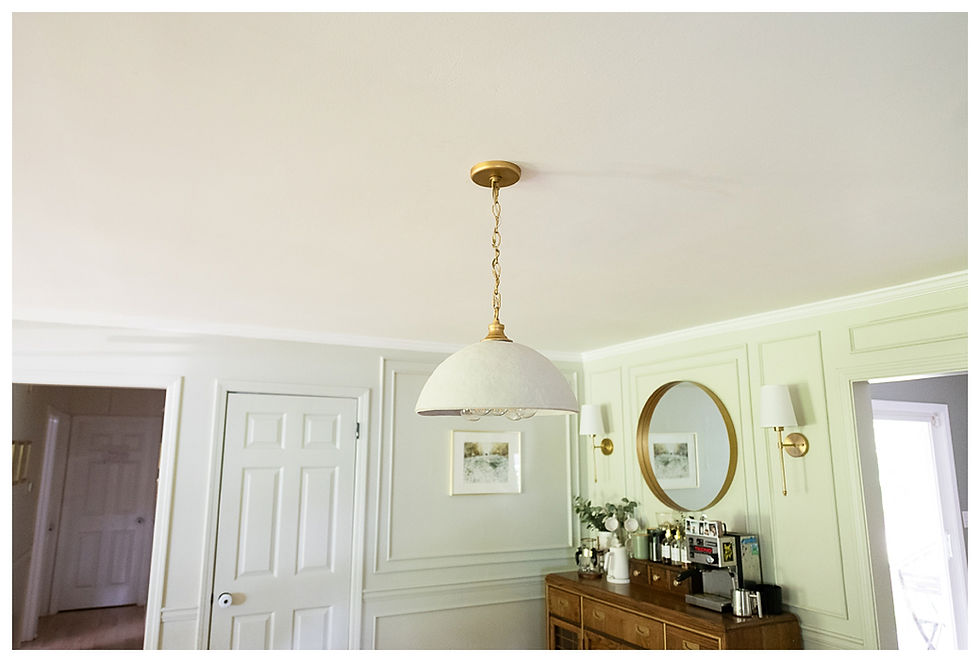
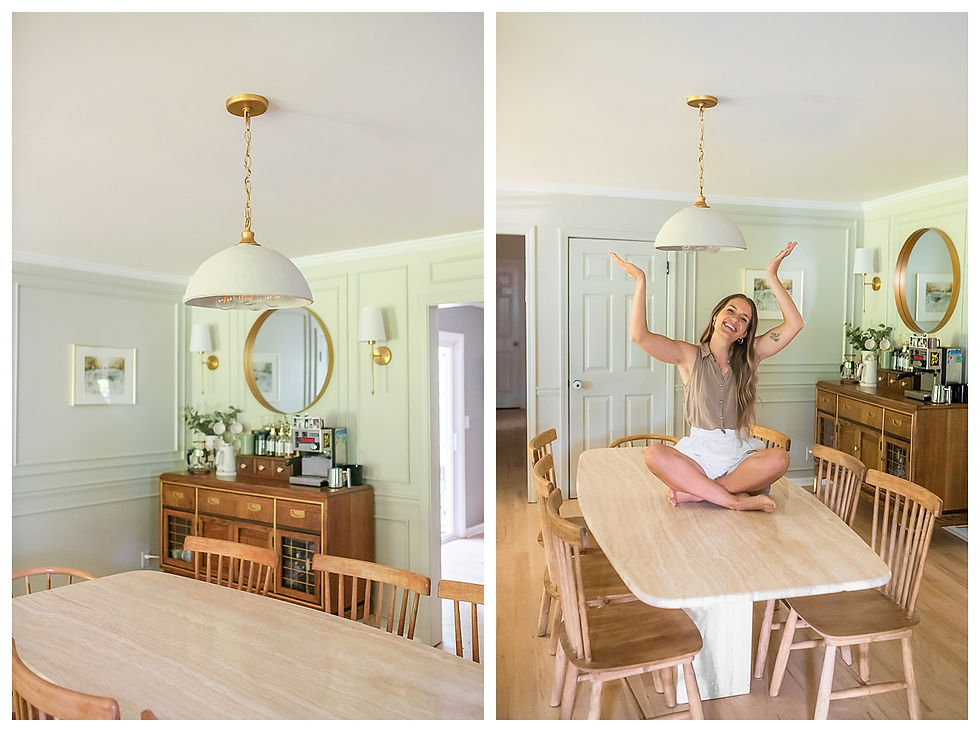
Next I attached the hardware and installed the light into the ceiling, and OH MY WORD I am obsessed with how it turned out!
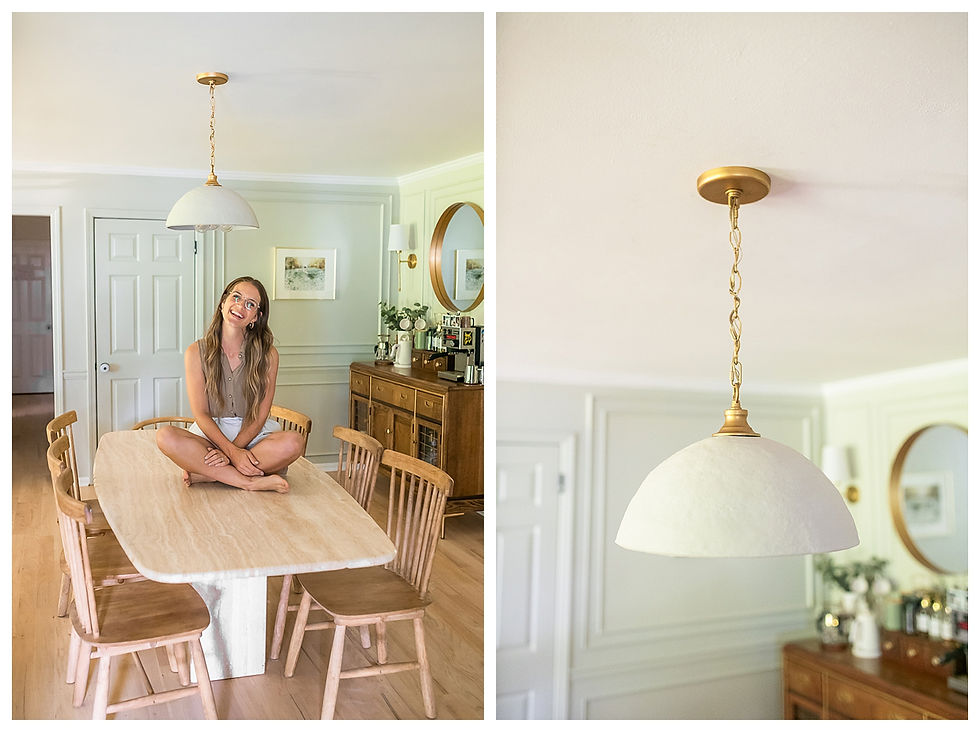
This DIY faux concrete pendant light is the dining light of my dreams! The original one I was inspired by costs about $2,000, but making my own only cost around $50 with all the supplies!
Supply List:

Comments