DIY Custom Cabinet Fridge Doors


I've always wanted a fridge with custom cabinet doors to seamlessly tie into the rest of my kitchen, but it wasn't possible with the fridge I previously had, so I partnered with Lowe's to create my own custom doors using the Samsung Bespoke Fridge!
Making these DIY custom cabinet fridge doors was so easy and fun! To start, all you have to do is remove the stainless steel door panels by taking out the clips at the top of the fridge and bottom of the freezer, then pull the panels off using a suction cup.

We knew the back of the cabinet doors needed to be flat to properly adhere to the panels, but we also wanted to make shaker style doors to match our kitchen. So to get a shaker style door without insets on both sides, we chose to do a picture frame style cabinet door. Instead of routing a channel in the middle of the stiles and rails of the frame, we used a table saw to cut out 1” wide by 1/4” deep off the stiles and rails so that the 1/4” cabinet grade plywood would sit flush on the back side of the door. This allowed us to have 1/2” thickness to fill with the moulding.

Once the channels had been cut, we used a Kreg jig to create pocket holes and then joined the stiles and rails together.
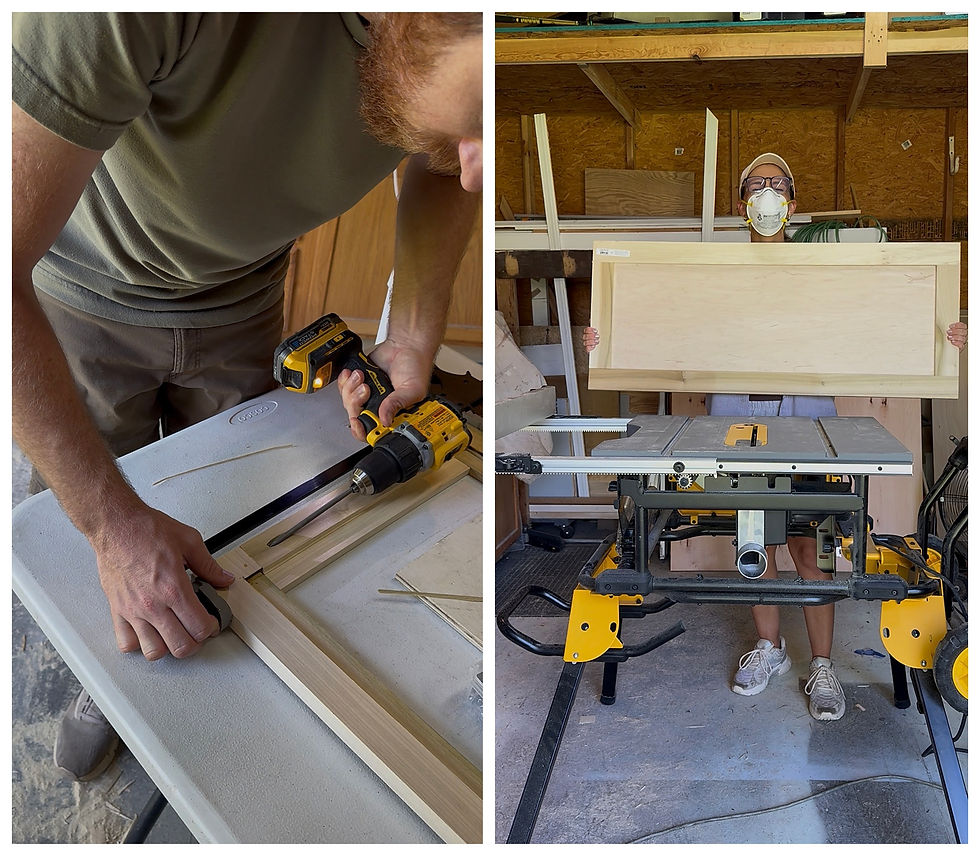
After creating the frames, we glued the cut panels into the door frames and pin nailed them in place using 1/2” pin nails, then gave it a good sand.

Using an angle miter trim cutter, we measured and cut the 1/2” moulding and glued them into place on top of the finished side of the panels. Plenty of sanding took place after this using our cordless sander, starting from 80 grit and working our way to 220 grit to be ready for paint.

After we assembled the doors we hung them to spray with a paint sprayer using a couple coats of primer first, then sanded between each coat. We also filled any visible cracks and imperfections with wood putty before the last coat of primer.

For the custom fridge doors, we used the HGTV Home Sherwin Williams Cabinet & Furniture paint and had it color matched to our other kitchen cabinets. It created that hard, factory like finish that matched the rest of our cabinets. We also cut and painted 1/8" plywood to cover the sides of the fridge that wouldn't be hidden by our built in. Once it was time to hang them, we used this double sided tape and they look so seamless!

Once everything was dry we laid the original stainless steel panels on the back of the new doors, then drilled pilot holes every 5 inches across the panels.

Next we screwed the panels onto the doors using 1/2" sheet metal screws.

Once the panels were securely attached, we installed the handles for the fridge (we ordered three of these- it ended up being much cheaper than ordering a set of fridge handles).

To install the new doors, simply align the stainless steel panels into the grooves of the fridge.

As you can see, this is where I started to see it all come together and was VERY happy with how it was turning out!

After we fit the doors into the grooves, we put the clips back into place on the top of the fridge and bottom of the freezer, which completely secured the doors.

And that's it! Making these DIY custom cabinet fridge doors took us about 4 days from start to finish, and we are so pleased with how they turned out!

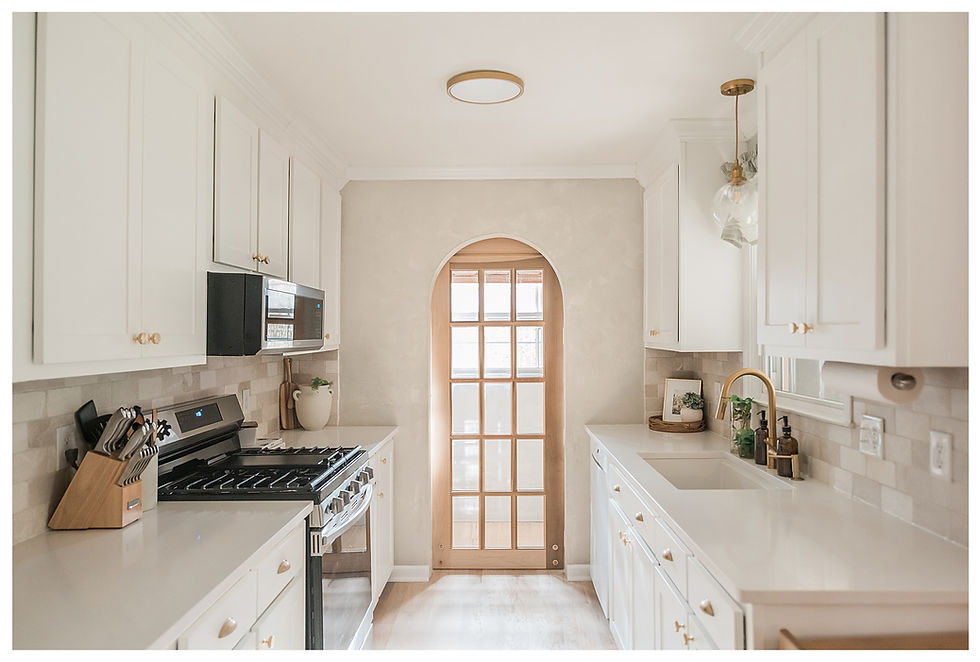
Can you believe this before and after?! It was an instant upgrade to our kitchen!

For more information on all the supplies we used, you can check out my Lowe's Storefront!

Thanks for being here!! Be sure to follow along on Instagram for more DIY projects and home inspiration.

Comments