
DIY Fireplace Built Ins
- Candice Emerson

- Aug 9, 2024
- 4 min read
Updated: Aug 28, 2025
When we moved in our house last year, we knew this blank wall would need something to spruce it up a bit. I have been dreaming of a Samsung Frame TV for a while, and envisioned it being hung with some floating shelves on either side, but my husband got inspired after seeing a fireplace build out tutorial, so we pivoted and got to work. I absolutely love how it turned out!
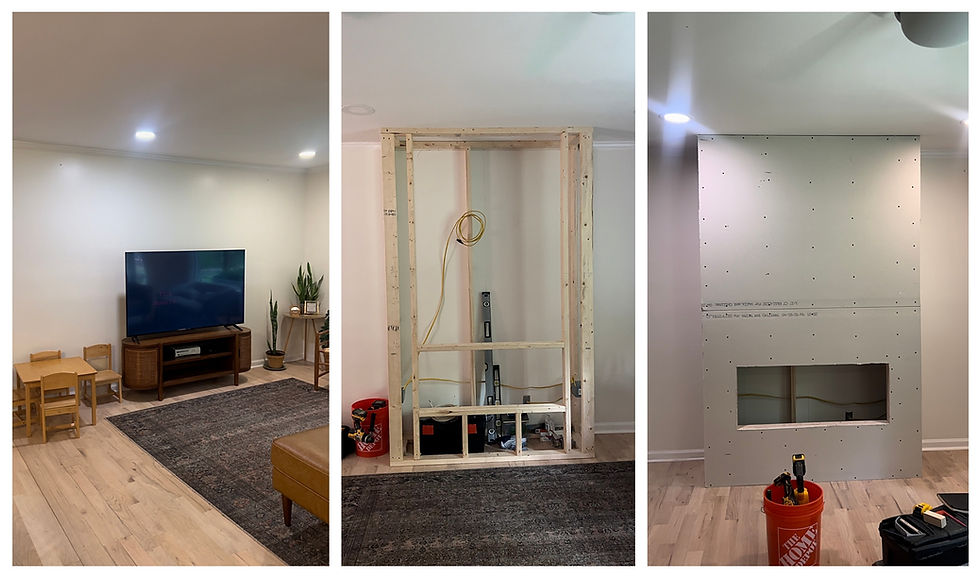
After building the frame for the fireplace, my husband tapped into a pre-existing circuit and ran the wiring to both sides of the fireplace where he had installed junction boxes. Then he covered the fireplace frame with drywall. After measuring the size of the fireplace insert, he cut the drywall to length and secured it in place using drywall screws. Then it was time for the first coat of drywall mud over the seams followed by seam tape and more mud! Once it dried, he sanded and reapplied drywall mud two more times to get a level 5 finish.

The next step was installing the wooden beam that would become our mantle, which my husband made from 2- 1”x6”x6’ and 1 - 1”x4”x8’ Red Oak from Lowes. He used a table saw to miter the edges to a 45 degree angle, sanded the miters to fit how we wanted, and used tape to hold the shape. He glued the miters together and used a Dewalt Atomic Pin Nailer to add strength. It is a floating mantle, which means it fits over the support structure that has been fastened to the fireplace frame. Then he added interior blocking which he nailed together with a Dewalt 15 gauge finish nailer. It turned out so beautiful and matches our floors perfectly!

Now to start the cabinets for the fireplace built ins! We tossed around the idea of purchasing cabinets that were pre-built, but my husband was sure that building them himself would be less expensive and more sturdy- which he was right!

The "countertops" for the cabinets were made from two pieces of 3/4-in x 4-ft x 8-ft cabinet grade sanded birch plywood. We had to use a little wood filler on one of the sides, but it's not easily noticeable. For the edges, we used an iron on wood veneer edge banding, which matched our wooden countertops perfectly. It was so easy to use, but it did create a few bubbles that we had to go back over with the iron to get out.

Given the space of our wall, the cabinets could fit three doors each, which my husband also built himself. He made them shaker-style and then painted them with a white cabinet coat paint. Since one door would open the opposite way of the other two, we decided against using hardware for them. I love how clean they look without any knobs or handles!

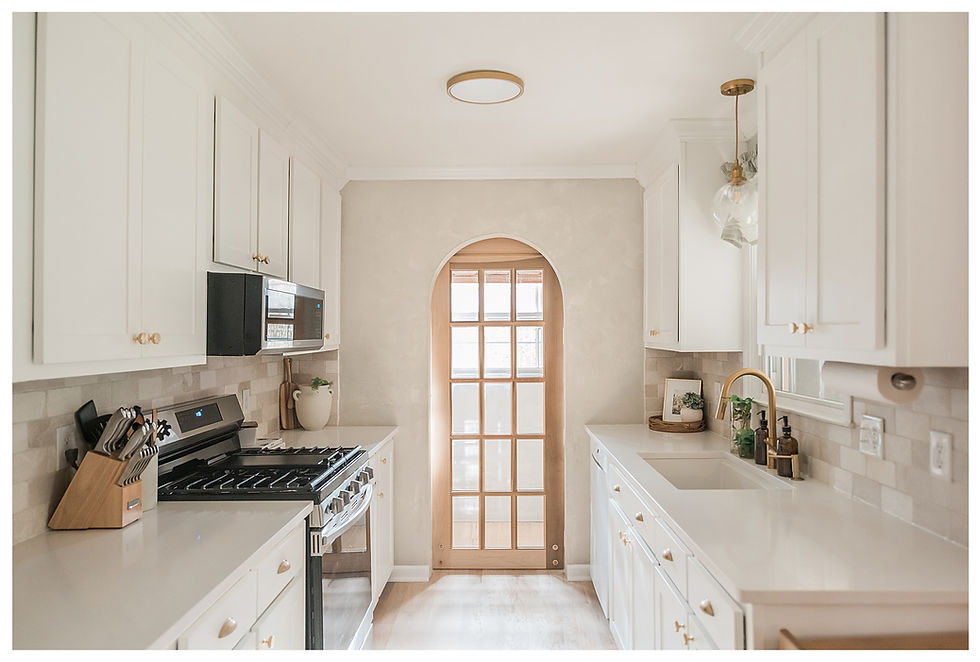
Throughout the planning process, we debated how we wanted to cover the actual fireplace. I didn't want to just paint it, so while doing research, I loved the idea of covering it with stone veneer, but unfortunately it was out of our price range. Then we stumbled upon Roman Clay and I fell in love. It gives the stoney look I was going for, without the expensive price tag! We ordered a few samples to try, and ended up going with Thumper, which was our favorite from looking online. It has green/sage hues with a slight gray tint, which is the exact same color as our kitchen- no wonder we loved it so much! We decided to cover the walls above the cabinets as well, and I'm glad we did because it tied it all together so beautifully. We did two coats, and the clay goes on a lot darker than when it dries, so be sure to be patient and trust the process.

The next step was to add our floating shelves and build the arch frames to cover them. Since the left side of the wall backs up to our carport door, we weren't sure if doing the arches would be too difficult, but I'm so glad we decided to try it because it's my FAVORITE part of the fireplace built ins. The shelves we used are unfinished floating shelves from Home Depot. We went with this option because the brackets bought separately were a bit too expensive. Additionally, we wanted to finish the shelves in a particular style so the unfinished option was a huge plus. They ended up matching the mantle and floors perfectly!

Next, my husband installed outlets inside the cabinets that connected to the new junction box he had installed.

One of the final touches was adding these lights inside the arches, which makes it so cozy at night.

I have a separate blog post about how we made our frame for the tv, but basically we glued and nailed together this wood trim that we picked out from Lowes, then spray painted it gold. It turned out SO pretty!

Last but not least, we hung the TV and installed the fireplace! We went with the 55" Samsung Frame TV and the BOSSIN 50 inch Ultra-Thin Silence Linear Electric Fireplace Insert. We also added this picture light sconce above the TV and I love how it turned out!

We are seriously obsessed with how this turned out! It ties our whole living space together and add so much charm. My husband truly outdid himself and I just love it so much.

Comments